I need to get rid of my current server http://kiwiland.net.nz/projects/weazer/ and break it into two smaller servers.

I will be building two servers. Both boxes will be the same size. Measuring 350Wx300Hx390D. One will hold a AMD64x2 with 3 gig ram and 4 x 160 gig disks running in raid 10 Running Redhat and Xen (Virtualisation software). The other will be a AMD64 with 512m ram and upto 10 disks (8 at this stage) running FreeNAS. All the disks will be mounted in Dell Hotswap trays.

The Qubelok stuff is great. Very easy and quick. Will post pics as I make progress.


PS. My other box is http://kiwiland.net.nz/projects/mythie/


Bottom created with Motherboard mounts

Motherboard fitted

Sides going up, Start of hdd cradles to the right and powersupply notch top left.


Well another hour tonight and I have the frame and hdd mounts all done.


As you can see this is what $90 of qubelock stuff looks like


Here you can see the HDD tray in place. These are Dell Hotswap trays. You can pick them up cheap on Ebay.
I have 10 arriving in the next day or so. The front will hold two stacks of 5 disks.


This way the aluminium trays help cooling and with two 120mm fans in the back
(one in powersupply) they should be kept nice and cool.


Here you can see the HDD in place, Motherboard and powersupply.

I have got this far with the following bits.
Pencil
Ruler
GMC circular saw (Mitre)
Fine file (To clean ends up)
Araldite (Excellent Aluminium bond glue. MB mounts)

I could probably drop another 50mm in hight but since its my first I will leave it like this. I have to build another after this that will hold only 4 disks


Yeah. Over kill. Counting up it used 6 meters of tubing and 34 connectors. For the second one It will use a lot less. Most of it is in the drive rack. I wasn't sure how rigid the joins would be (sagging under weight)and was also worried about resonance with 10 drives. The photo's make it look big however grab a tape and picture 300 high and 350 wide. I brought the length and used a cheap mitre saw. Took it easy and all the joints are straight and clean. However my total investment is 4 hours of work and the motherboard is mounted, HDD's are done and only thing tricky to do is the front and back panels.

Anyway the drive cradles arrived today and will be mounting 5 upside down and the other five the normal way. Looks better from the front and was initially worried about running drives upside down but all the manufactures support mounting any any orientation. Will take the risk.


Here you can see each drive has a 3 mm gap. This is the only way the air can flow through the case and the hdd bays are aluminum which will help cooling even more.


In the final stage I will switch the fans to suck from the back through filters then out the front past the hdd's. Bit unconventional but couldn't think of any other way.

I was also thinking of making proper hot swap tray backs however running a mixture of Pata and Sata so too much effort for minimal return. This will purely be a movie storage server so raid etc won't be used. The other server will be a raid 10 (4 disk) server so maybe worth considering.

The next step is too attach the front and back panels. Will involve some work with the jigsaw and I also need to make the latch for the hdd's.

Also the drive cradles have a fibre optic rail so I can illuminate it with a light from the back. Would be cool if it has a HDD flicker but doubt the MB could power 10 leds. I will just wire up a bunch of LED's up of the 5 volt rail.

Final iteration will be polished aluminium panels attached by allen bolts..


Well the case is almost done. Came across a few little hickups. The main one being 
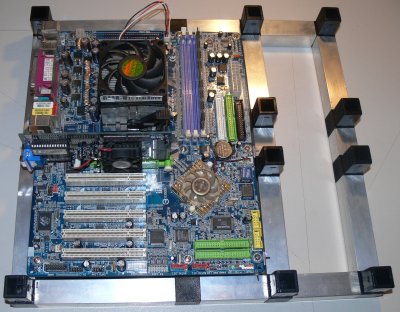
when I initially measured the motherboard I got 300mm and it is actually 305. The problem is I got all the panels pre-cut. Doh. If anyone has some ideas on how to cover the gaps then it would be much appreciated.

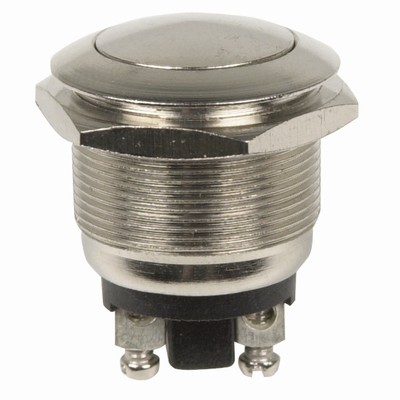
At this stage I have it running with two old disks, switches hanging out the side and a USB stick in the back. I have proper switches on the way and also have some new fans, fans controllers and grills ordered as well. Note it is running Freenas, runs completely off a USB stick.

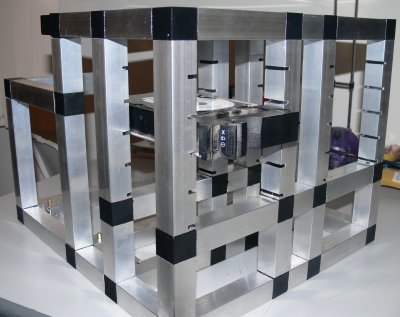
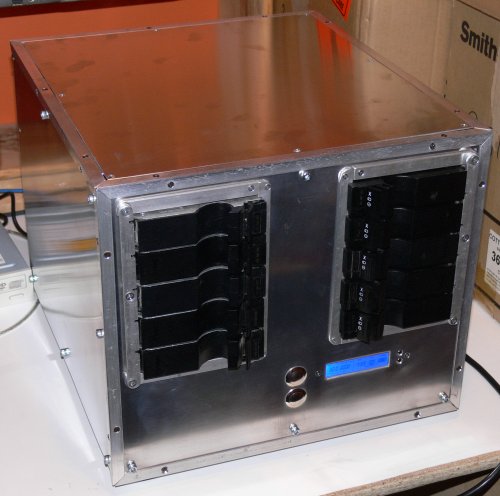
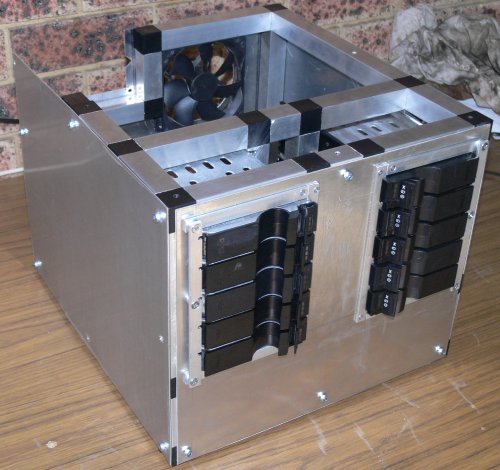
Here you see the front all done. The frame provides a clean edge and also is the latching mechanism for the drives craddles


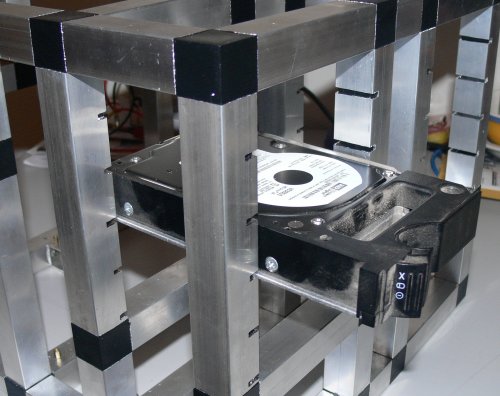
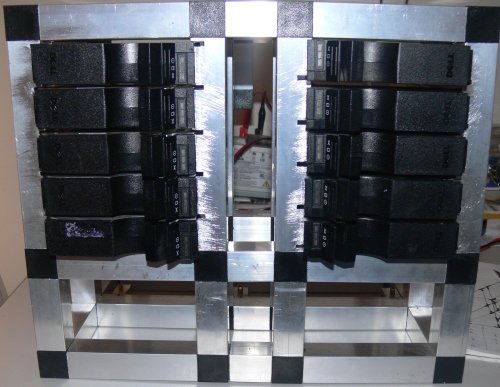
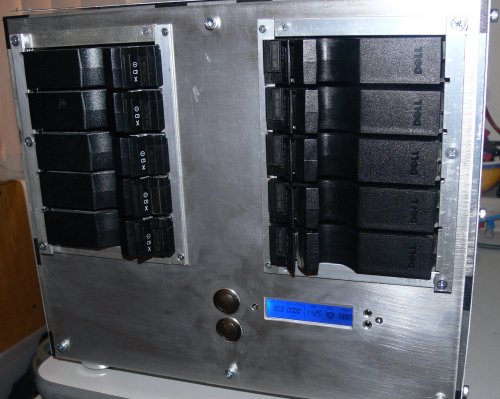
Here you see the drives fitted. Looks nice and tidy and clean. Notice the gaps, any tips for fixing, covering or replacing would be much appreciated.


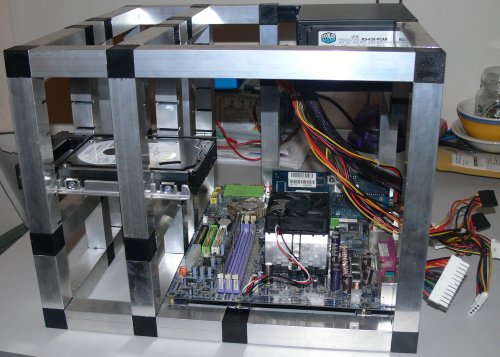
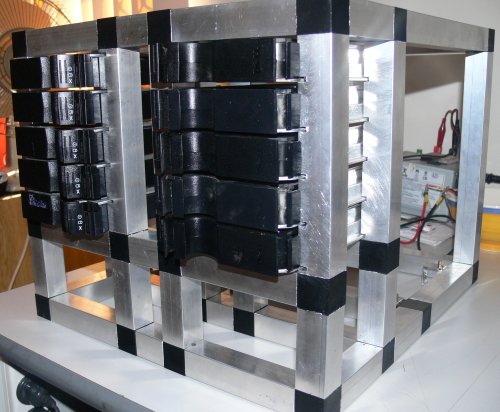
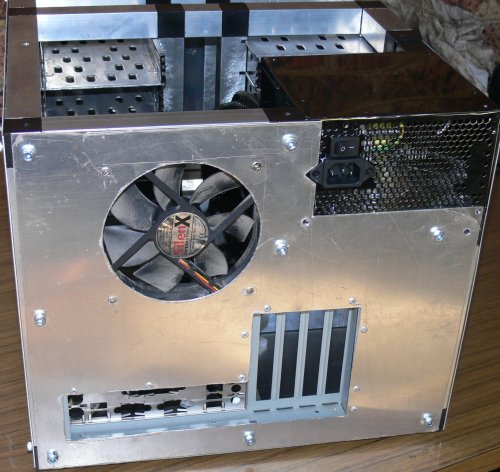
Here's a shot from the back showing Fans, drives and MB face.


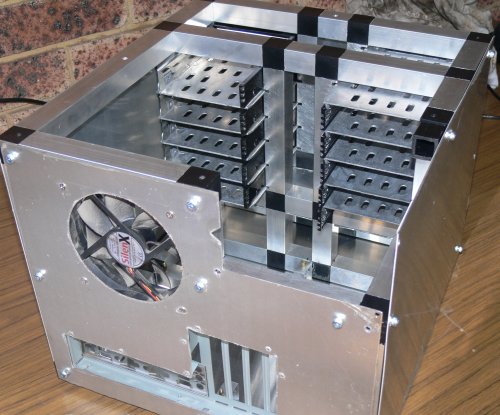
With the low flow silenx fan in place it is still quiet and still easily flows enough to keep the drives cool.


Basically all thats left is to fix the gaps around the edge, Bling it, install a lian li smart fan controller and polish the aluminum plate. Its all works as expected. Nice and quiet and keeps the drives cool.

To fit


Front is finally done. Box is currently running 8 discs and will finish up with 10 in a few more days.
All I have to do now is get some ali angle (3 or 5mm) to clean up the edges then polish all the panels.

Then I can start on the second one. Basically the same with a few design improvements.


Its all done. Fixed up the gap around the edges. Now running Openfiler. Total of 10 disks. 6 320 and 4 200. The 320's are setup as JBOD and the 200's are running as two sets of disks mirrors.